
Last updated November 21, 2026
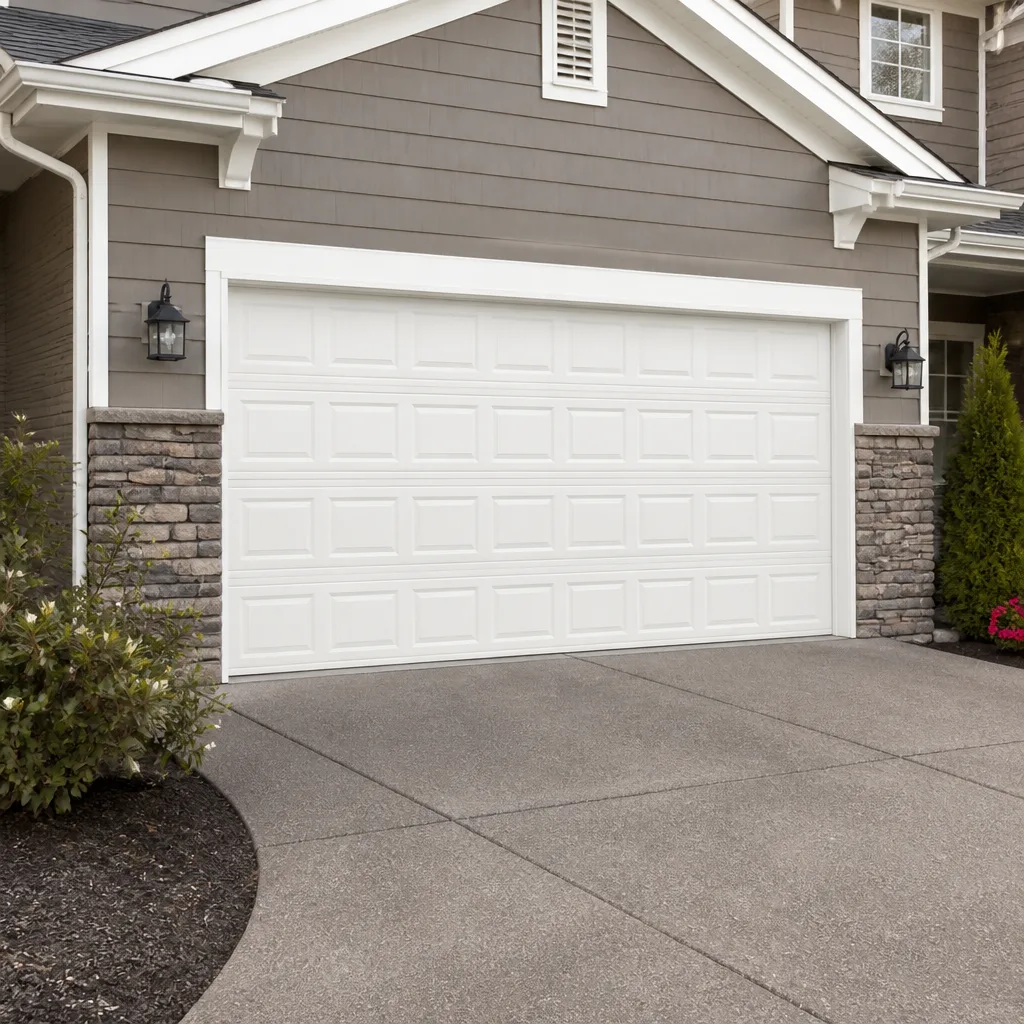 Raised-panel steel
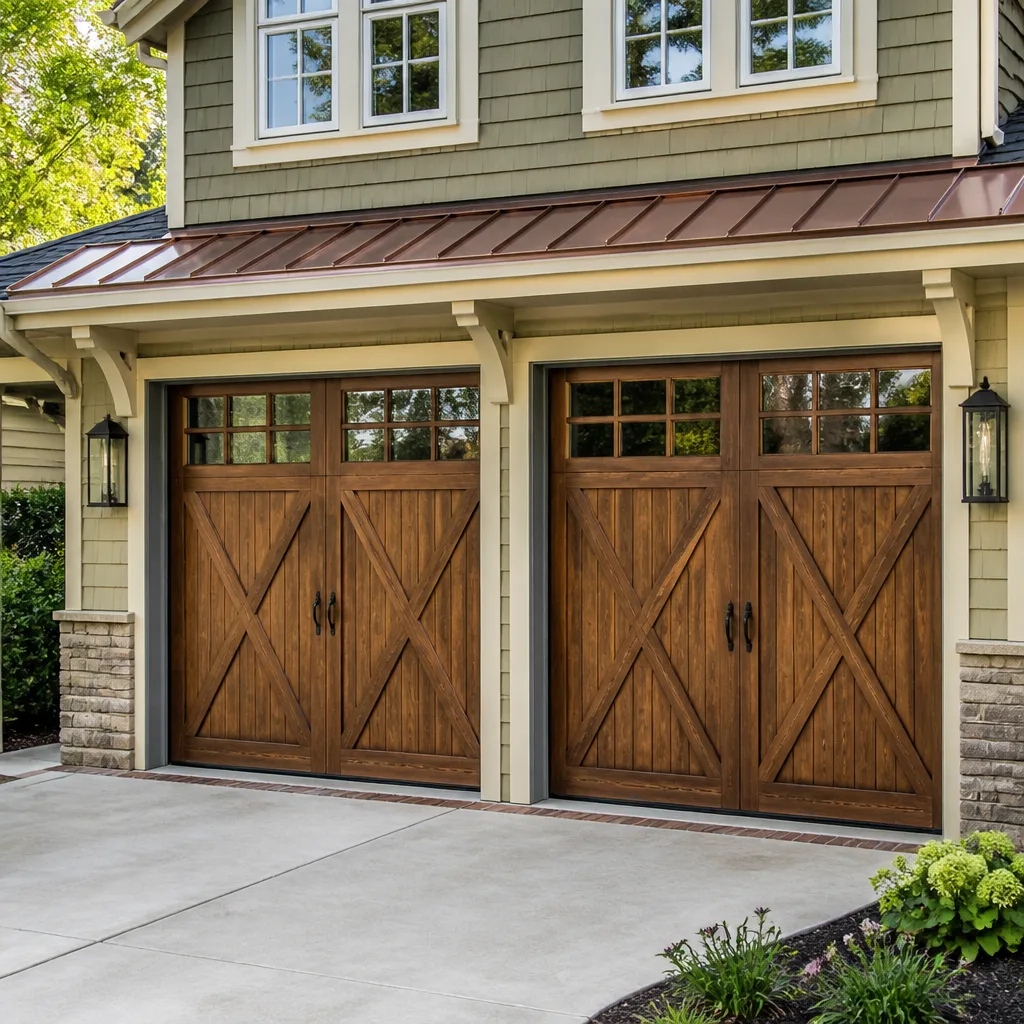 Carriage house
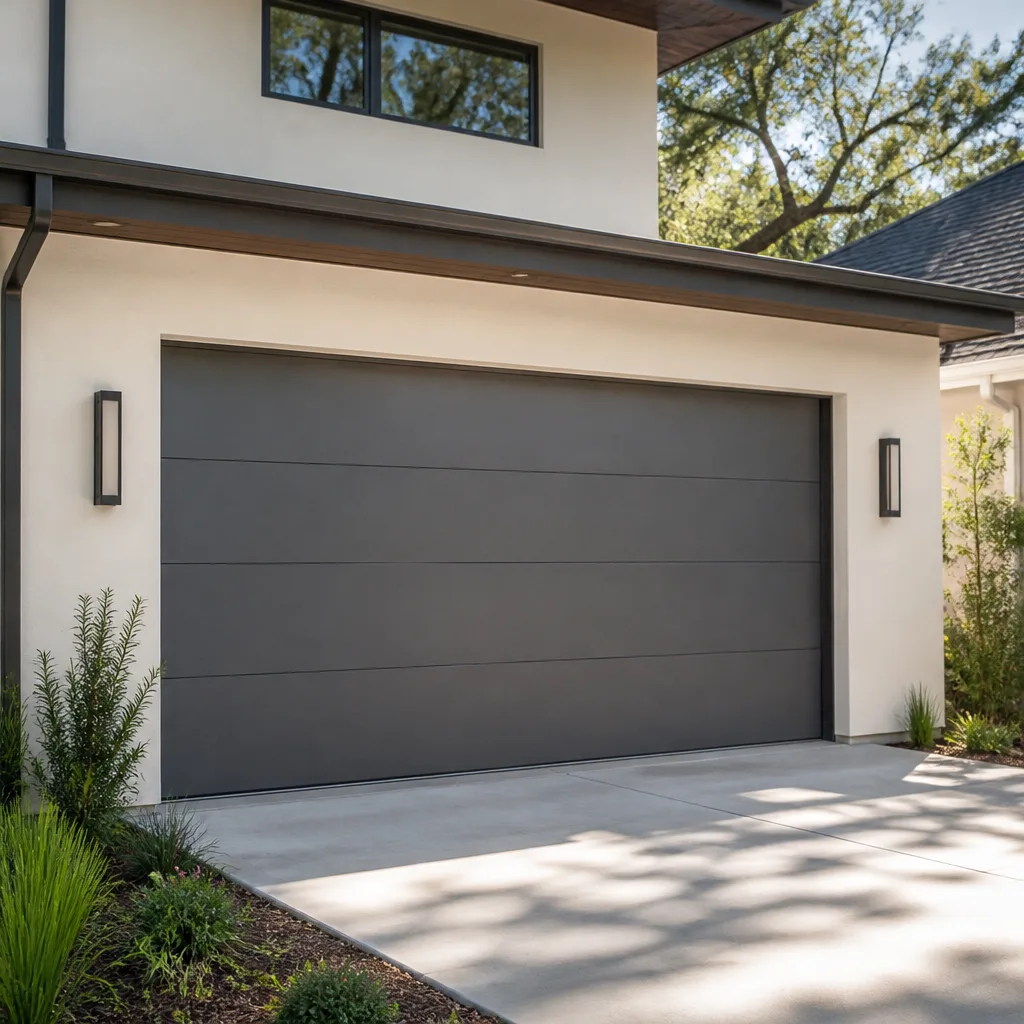 Modern flush
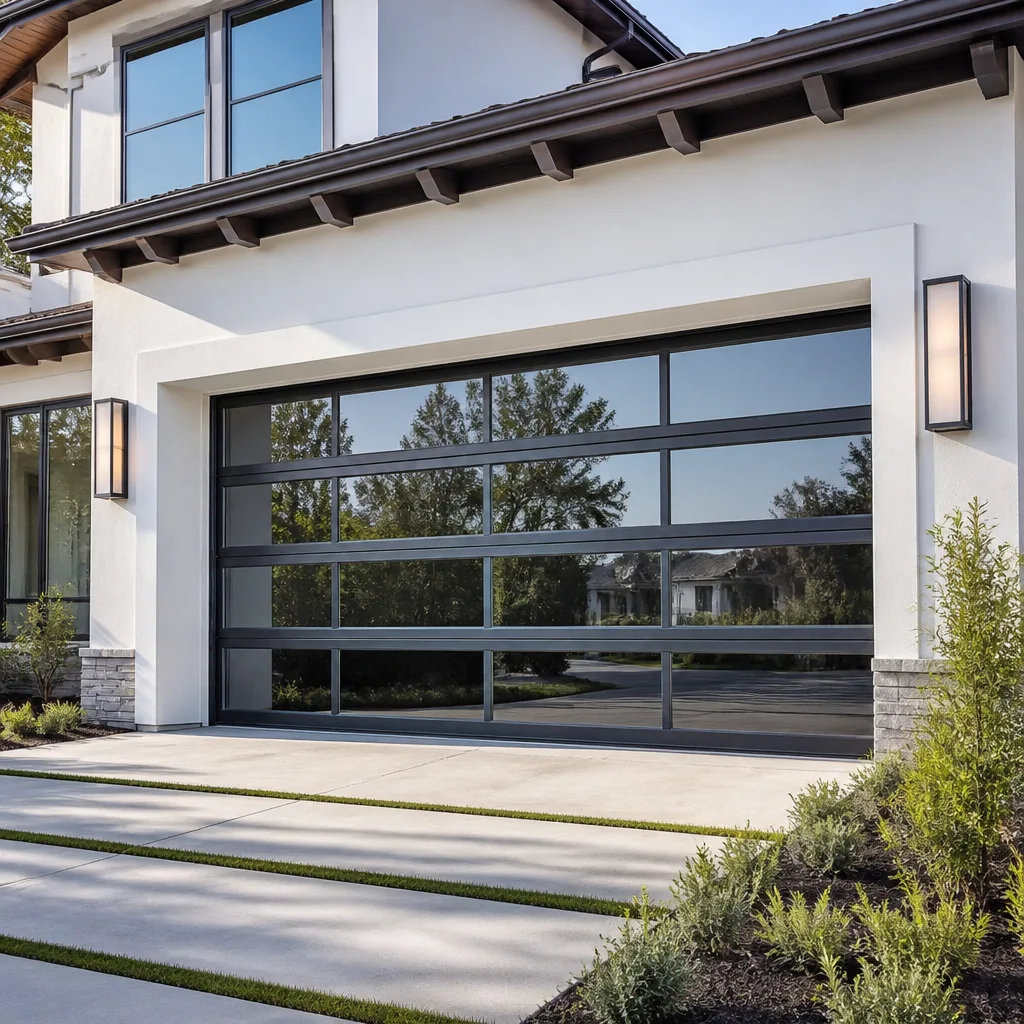 Full-view glass
 LiftMaster openers
 Chamberlain openers
Full 25-point door and opener safety check with every visit - springs, cables, rollers, tracks, and your LiftMaster or Chamberlain opener included
You get a price before we start. It does not change when the pro arrives.
Get your free estimateGarage Door Repair Maintenance Checklist for Bay Ridge Homeowners
Most maintenance checklists say “inspect your springs.” That’s like telling someone to “inspect their brakes.” Without a picture of what healthy looks like, the instruction does nothing. This guide fixes that. Every component below gets a real pass/fail test: what a good torsion spring should look like, what a failing one looks like, how a worn roller sounds when it rolls, and where the line sits between a job you can safely handle and one that needs a trained technician. Bay Ridge homes deal with their own set of garage door pressures, and a checklist written from here should reflect that. By the end you’ll have a usable inspection routine, a maintenance log you can actually fill in, and a short list of things to never touch.
Quick Answer
A working garage door maintenance checklist covers six things: springs and cables (visual only, from the ground), rollers and hinges (lubricate twice a year), the track (check alignment and clear debris), the opener and safety reversal (test monthly), weather sealing and the bottom bracket (inspect seasonally), and the door panels and balance (listen and lift-test). Homeowners can safely handle lubrication, track wiping, seal cleaning and the opener’s balance and reversal tests. Springs, cables, and anything involving high tension need a technician. In Bay Ridge, winter cold cycles and summer humidity mean the checklist should run on a seasonal rhythm, not a once-a-year sweep.
Styles & brands we work with
- Raised-panel steel
- Carriage house
- Modern flush
- Full-view glass
- LiftMaster openers
- Chamberlain openers
Table of Contents
- How a Garage Door Works: The Four Systems You’re Checking
- Springs and Cables: The Pass/Fail Test and the Hard Stop
- Rollers, Hinges, and Track: What Good and Bad Sound Like
- Lubrication: Where To, Where Not To, and What to Use
- Opener and Safety Reversal Testing
- Seasonal Adjustments for Bay Ridge’s Winter and Summer
- Your Maintenance Log and What Brooklyn DOB Requires
- When to Call a Professional
How a Garage Door Works: The Four Systems You’re Checking
A residential garage door is four systems working in balance: the springs and cables that counterweight the door, the track and hardware that carry it, the panels and seals that close the building envelope, and the opener that lifts it (or just assists, depending on the door). When one drifts out of balance, the other three take the strain. That’s why a garage door that “just started making a new noise” is usually a symptom of a problem that began weeks earlier somewhere else.
Here’s what each system actually does, in plain terms:
- Springs and cables. Torsion springs (or, on older doors, extension springs) hold most of the door’s weight. The cables carry that spring force down each side to the bottom bracket. This is the dangerous system, and it’s the one that gets inspected from the ground only.
- Rollers, hinges, and track. The door rides these. When a roller seizes or a track bends, the door drags, the opener works harder, and the noise level rises.
- Panels, bottom seal, and weatherstrip. These stop air, water, insects, and mice. Sections that swell, crack, or warp stop sealing and, on wooden doors, can also throw off balance.
- Opener, springs-to-opener interface, and safety reversing. The opener should assist the door, not lift its full weight. If it’s grinding on every cycle, something upstream is wrong.
Two systems are DIY-safe to inspect and touch (track, seals), one is DIY-safe with care (rollers and hinges, lubrication, opener tests), and one is technician-only (springs and cables). Keep that map in your head and the rest of this checklist makes sense. Bay Ridge’s mix of postwar brick homes with detached or recessed garages, and older wood-frame doors still in service, means you’ll find a range of hardware vintages – some doors here predate the smart opener entirely. If you ever reach the point where a repair outweighs the maintenance, our garage door repair team can assess the door and tell you honestly whether to fix or replace.
Springs and Cables: The Pass/Fail Test and the Hard Stop
Torsion springs live on the shaft above the door. Extension springs live on each side, running front to back. In both cases, the inspection you do is visual – from the floor, at eye level, no ladder, no reaching. A healthy torsion spring holds a tight coil with no gaps between windings, sits straight on the shaft, and makes no contact with a broken center bearing plate. A failing one either shows a visible gap where the coil has separated (a broken spring), sags away from the shaft, or has coatings and paint flaking at one point along its length, which can be a sign of fatigue. Extension springs should be straight, unbroken, and – if the door has them – fitted with safety cables that run through the spring and are anchored at each end.
Cables are the second half of the system. Look at the cable that runs down each side from the drum to the bottom bracket. A healthy cable is taut, evenly wound on its drum, and free of kinks. Frayed strands, a bird-cage kink, a cable resting loosely on the drum, or a cable that’s slipped off are all fail signals. Do not attempt to re-seat a cable or re-tension it.
What “failing” actually looks and sounds like
- A loud bang from the garage (spring breaking)
- The door rises a few inches then stops, or feels very heavy when you lift it by hand
- Visible gap in the torsion coil, or extension springs visibly stretched and hanging loose
- Frayed or kinked cables, or slack cable on a drum
- Uneven door – one side lifts first
The hard stop
Springs and cables are under high tension. Touching them without training, and without the winding bars and technique to release that tension safely, causes serious injury. This isn’t a “do it carefully” situation; it’s a “call a technician” situation. Our spring repair work is high-tension mechanical work, and it’s done by technicians trained for it, not passed off. If you find a broken or failing spring, stop the checklist here, close the door if it’s down, and call. For Bay Ridge homeowners, a broken spring on an otherwise healthy door is usually a same-day fix. The cost for a single spring repair typically ranges from about $180 to $340, with a matched pair usually needing replacement together and running roughly twice that. The written estimate you receive sets the final price.
Rollers, Hinges, and Track: What Good and Bad Sound Like
Rollers and hinges are the easiest parts of the door to check, and the most commonly ignored. A healthy nylon roller is round, smooth on the outside, and turns freely in its stem. A healthy steel roller has no flat spots. A failing roller is cracked, grooved, flat-spotted, or wobbles on its stem – and when the door moves, it produces a scraping or rumbling sound rather than a smooth roll. Ten rollers on a typical single door, sometimes fourteen on a double. Check each one by running the door by hand (opener disconnected, see the opener section) and listening.
Hinges are the pivot points between panels. A healthy hinge moves freely with no play. A failing hinge has a worn pin, visible rust, or a crack at the bend. Hinges are cheap to replace, but a seized hinge will eventually bend the panel edge it’s attached to, which is not cheap.
Track inspection: step-by-step
- Stand inside the garage, door fully closed. Look along each vertical track from bottom to top. It should be straight, parallel to the door, and clear of debris.
- Look along the horizontal track where the door travels overhead. It should be straight, level, and its curve at the transition point should be smooth without a kink.
- Wipe the inside of the track with a clean rag. Anywhere the rag comes away greasy or gritty is a lubrication point, not a cleaning point – a light wipe is enough, don’t flood it.
- Check the track bolts and brackets – they should be snug, not loose, and not rusted through. Loose track bolts are a common cause of rattling doors.
- Run the door up and down. Any point where it drags, jerks, or pulls to one side is an alignment problem, not a “grease it and hope” problem.
Vertical or horizontal track that has been hit (a car bumper is the usual culprit) needs professional realignment. Track geometry controls door geometry, and once it’s out, the door itself will follow. In Bay Ridge’s tighter garages, where door and car share every inch of a narrow space, track knocks are more common than in suburban setups. If a track is bent, our technicians can often straighten it in place rather than replace it – and if it needs replacing, that’s part of the same Garage Door Repair Bay Ridge service call.
Lubrication: Where To, Where Not To, and What to Use
Lubrication is where most maintenance routines go wrong, and it goes wrong in both directions. People over-lubricate the rollers (which attracts grit and turns them into grinding paste) and skip the top bracket assembly entirely (which is one of the highest-wear points on the door). The correct product matters too: silicone-based lubricant or a lithium grease for metal-to-metal contact, never WD-40 as a long-term lubricant, and never motor oil, cooking oil, or bearing grease on the exposed track.
Where to lubricate (and what to use)
- Roller stems and bearings – a light spray of silicone lubricant once or twice a year. Just the pivot, not the wheel itself.
- Hinges – a couple of drops of light oil or a spray of silicone at the pin. Wipe off the excess; the hinge shouldn’t be dripping.
- Torsion spring coils – a light film of silicone or a spring-specific lubricant, applied by a technician during service. The spring should not be dripping wet.
- Top bracket and center bearing plate – the two things nearly everyone misses. The top bracket (also called the top fixture) is where the door meets the horizontal track and takes a lot of force over time. A technician will check it; a homeowner can lubricate the pivot points from a ground-level position with a light silicone spray.
- Opener rail and chain (or belt) – manufacturer’s lubricant only, and only where the manual specifies. Belt drives usually need no lubrication at all.
Where not to lubricate
- The track itself. A dry track is a clean track. Grease on the track collects grit and destroys rollers.
- Roller wheels (the outside). Same reason – grit sticks and turns the wheel into a sandpaper block.
- The opener’s limit switches or sensors. Never lubricate electronics.
- Cables. Don’t oil cables – it attracts debris into the strands and masks fraying.
In Bay Ridge, the door faces two opposite conditions. Winter cold makes lubricant stiffen and parts contract. Summer humidity swells wooden door panels (all four seasons of weather working on the same seal). A light silicone product handles both; a heavy grease handles neither well. One light pass in late fall and one in late spring is the right cadence. Add a third pass only if you hear new noise.
Opener and Safety Reversal Testing
Two opener tests belong on every monthly routine, and both take under three minutes. The balance test (is the door lifting with the opener or on its own?) and the safety reversal test (will the door stop and reverse if it meets an object?). Skipping them means you find out something’s wrong in a bad way.
Balance test
- Close the door.
- Pull the emergency release cord (usually red, hanging from the opener rail) to disconnect the door from the opener.
- Lift the door by hand to about waist height and let go.
- Pass: the door holds its position, or drifts only slightly.
- Fail: the door drops, or lifts on its own, or feels much heavier than it should. This points to a spring balance problem – do not reconnect the opener and keep cycling the door. Call a technician.
- If the test passes, push the door back down and pull the release cord again to re-engage the opener.
Safety reversal test
- Open the door fully, then close it with the wall button.
- As the door travels down, wave a broom handle or the door’s own cardboard box in front of the safety sensor at the bottom of the track. The door should reverse immediately.
- Now place a 2×4 or similar solid object flat on the floor under the door and close it. The door should reverse on contact with the object.
- Pass: the door reverses on both tests.
- Fail: the door keeps going, stalls, or reverses erratically – stop using the opener until a technician checks the sensors and reversal settings.
Older openers can have photo-eye sensors that are misaligned, dirty, or missing entirely. If your opener has no sensor, or the sensor is disconnected, that’s a safety gap, not a habit. Openers from LiftMaster, Chamberlain, Craftsman, and most of the modern brands have alignment lights on the sensor units that make this test easier. If your opener is one of those brands and something’s not right, our garage door opener repair team handles all eight major brands, so the correct procedure and part is used rather than a guess. Our technicians have up to 9 years of experience on these systems.
Seasonal Adjustments for Bay Ridge’s Winter and Summer
A garage door in Bay Ridge faces a specific annual cycle that most national checklists ignore. Winter cold shrinks and stiffens: metal contracts, lubricant thickens, wooden door panels shrink a little, and spring tension changes with temperature. Summer humidity does the reverse in wood doors – sections swell, doors drag, and seals compress in ways they didn’t in February. Layering a maintenance routine on top of these transitions is what keeps a door working through the year.
Late fall (before winter cold sets in)
- Lubricate rollers, hinges, and spring per the section above – cold will stiffen old product, so fresh is better.
- Test the balance and safety reversal (winter is the worst time for a stuck door).
- Check the bottom seal. A seal that’s cracked or gone will leak cold air into the garage all winter.
- Check the door hardware for loose bolts. Wood door panels shrink in cold and hardware loosens.
- Look at the opener’s force setting per the manual – cold stiffens the door, and a marginal force setting can leave you with a door that won’t close on the coldest mornings.
Late spring (before humid summer)
- Re-lubricate per the section above – salt and grit from the winter are on the track.
- Wipe down track and roller surfaces to remove grit.
- Check wooden panel joints for swelling. If a panel binds in summer but not winter, the panel – not the hardware – is the cause.
- Re-test the safety reversal; sensors can drift out of alignment with the seasonal expansion of the frame.
- Check top bracket and hinge screws for the same reason.
Monthly (all year)
- Safety reversal test
- Visual look at springs and cables from the floor
- Listen for new noise
Bay Ridge winters are cold enough that stiff doors and stiff openers cause real problems in January and February. That’s the month when a marginal balance or worn roller goes from noticeable to stuck. If a door fails a winter morning, that’s a good reason to call. Garage door installation or full replacement is a separate decision from maintenance – the door you have today may need only repair, and we’ll tell you that honestly rather than upsell.
Your Maintenance Log and What Brooklyn DOB Requires
A maintenance log is only useful if it’s short enough to actually fill in and complete enough to be useful. For a garage door attached to a Bay Ridge home, a maintenance log should track: date of each inspection, pass/fail on springs and cables, lubrication performed (yes/no), safety reversal test result, any hardware replaced (roller, hinge, sensor, remote), and any technician call (date and reason). A single page with columns for these fields fits the whole door’s history. Keep it in the garage.
Why the log matters (beyond maintenance)
- Diagnosis. “The door has started rumbling” is easier to trace if you can flip to the last three logs and see that a roller was replaced six months ago.
- Service history. If a technician visits, they’ll want to know what’s been done. A complete log saves them guess-time on your dime.
- Sale of the home. In Brooklyn, a well-documented maintenance history on an attached garage structure is a small but real point of buyer confidence. It confirms the door and opener have been cared for, and it gives a home inspector something to work with rather than a blank slate.
- Brooklyn DOB. Garage door work that changes the structure, the framing, or the opening (full replacement, new door in a different size, structural repairs) should be discussed with your city’s building department before being done. The department can tell you what permits or inspections apply. Routine maintenance, lubrication, spring and roller replacement, and opener repair are service work rather than construction, and don’t usually require permitting. When you’re considering a door replacement, ask your contractor or your building department to confirm what applies in your case – and don’t rely on a national checklist for the answer.
The log doesn’t need to look official. A clipboard with a printed table and a pencil is the whole thing. Write the date, the pass/fail, and one line of notes. Two minutes per inspection, and it will pay for itself the first time something goes wrong and you can prove when it started.
See the difference
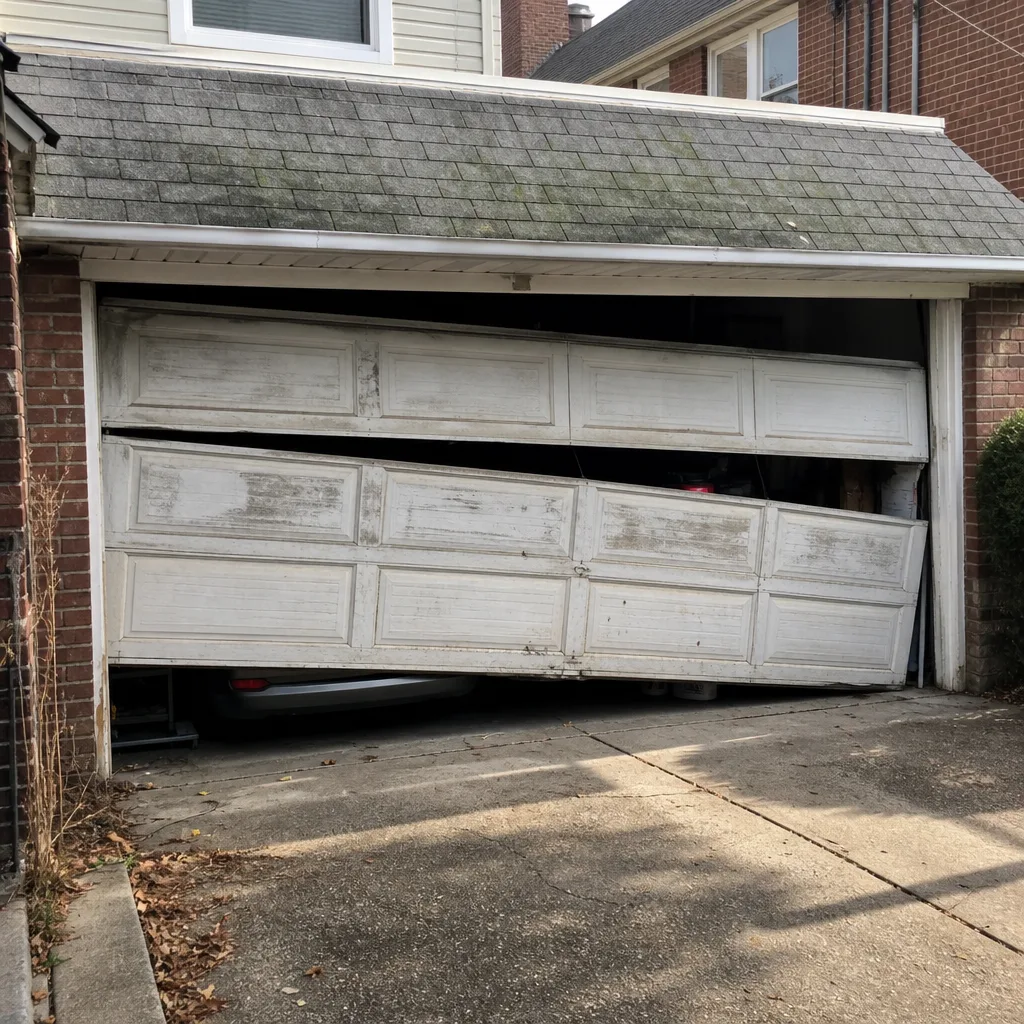 Before
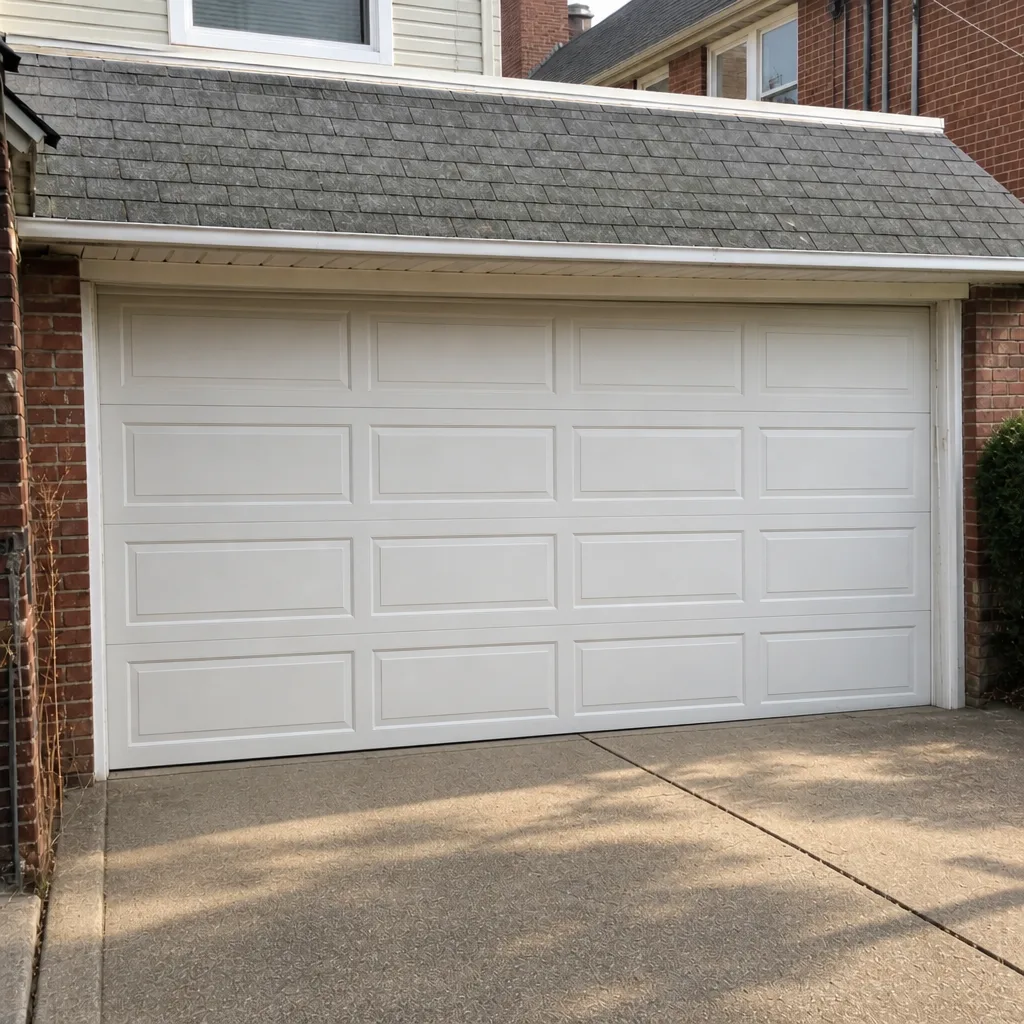 After
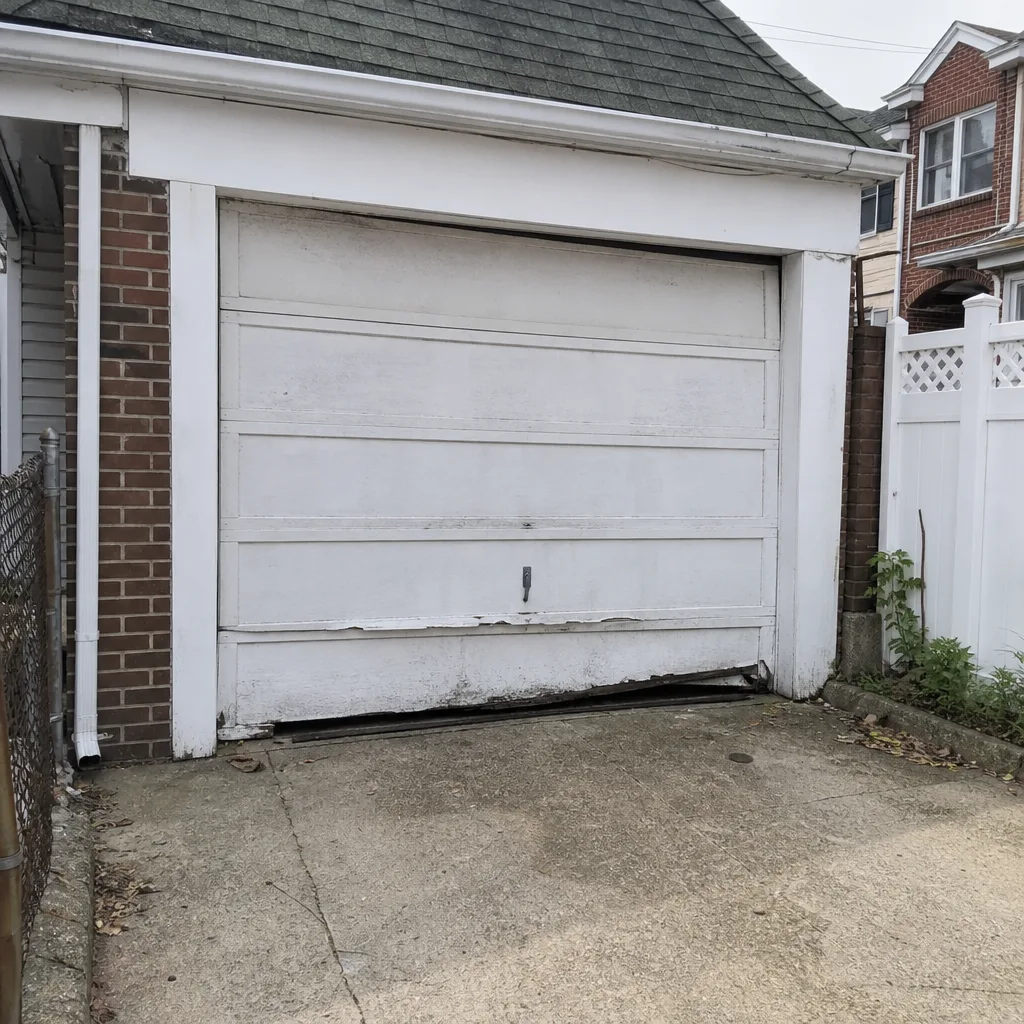 Before
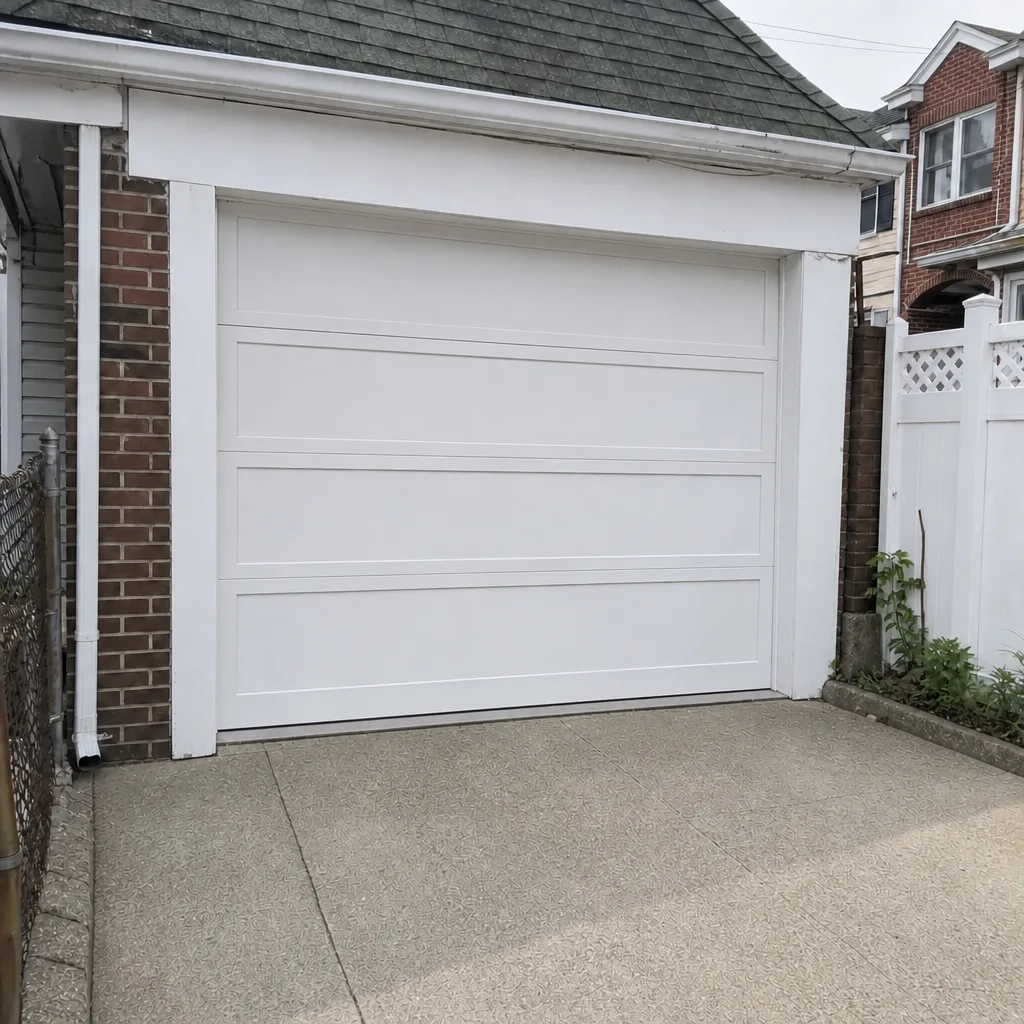 After
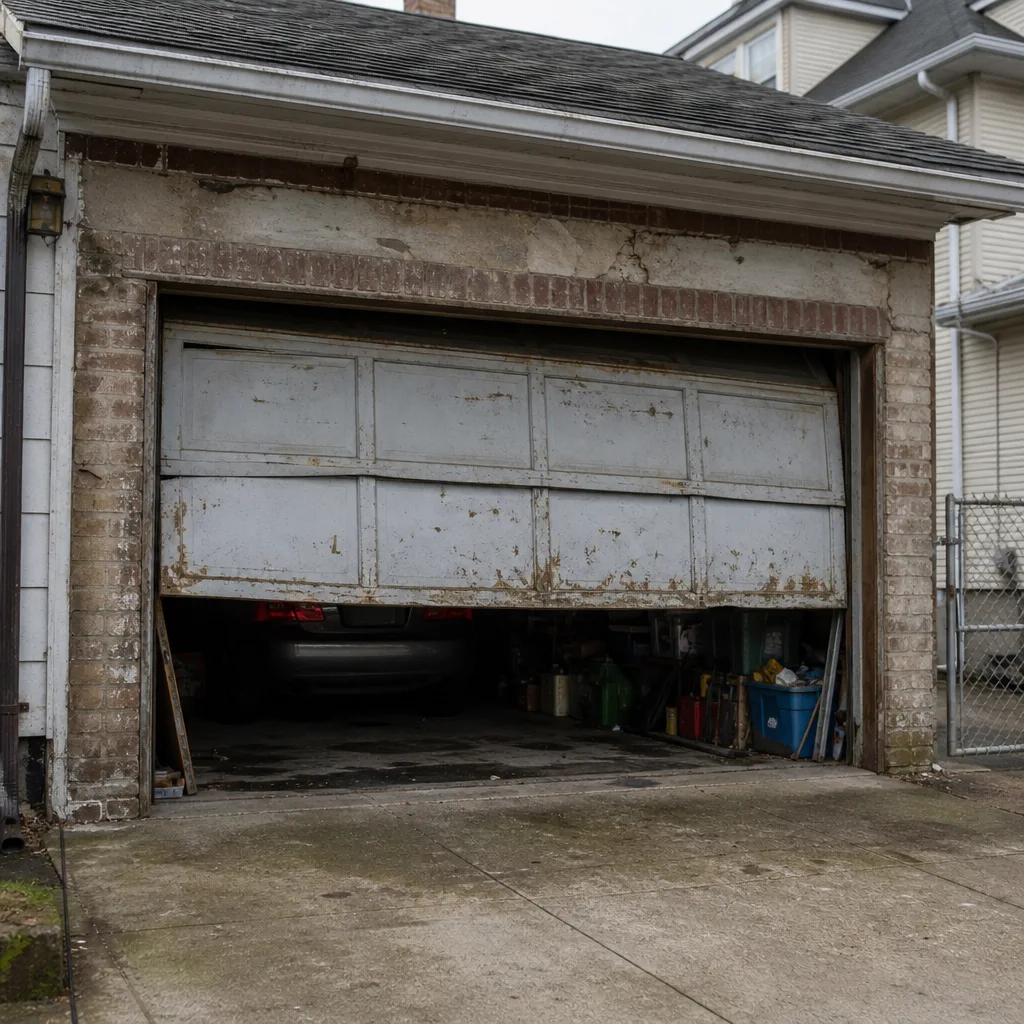 Before
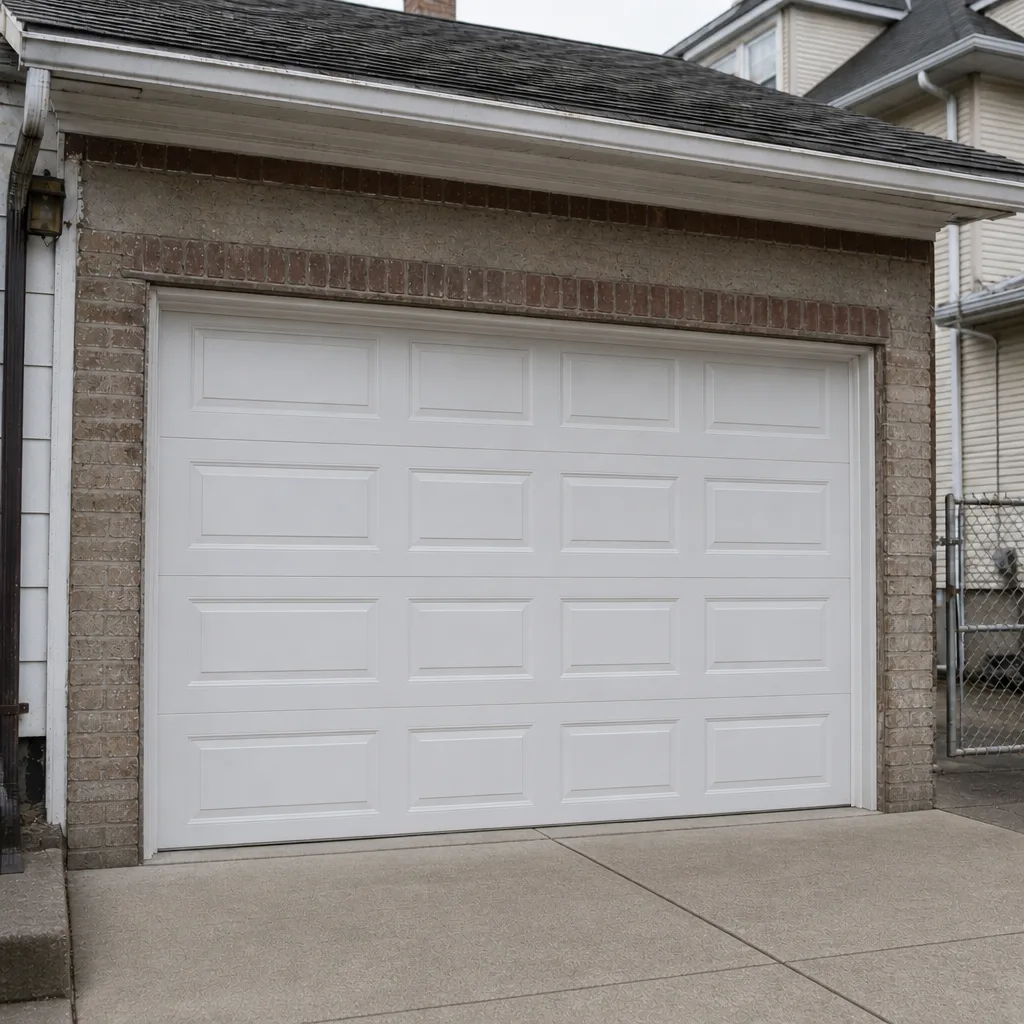 After
Common Mistakes to Avoid
- Lubricating the track and roller wheels. Both attract grit and turn the roller into an abrasive disc against the track. Lubricate the pivot points only, not the contact surfaces.
- Trying to fix a broken spring. It’s the most common serious injury in this trade, and it’s not a matter of being careful – it’s a matter of training and equipment. Call a technician.
- Ignoring the top bracket. Most maintenance checklists don’t mention it and most homeowners never look at it. It’s a high-wear point and worth mentioning to whoever services your door even if you don’t lubricate it yourself.
- Running the opener on a failing balance. If the door feels heavy or drops during the release test, the opener is now doing work the spring should be doing. The opener will eventually fail, but not before the spring gets worse.
- Skipping the safety reversal test in winter. Cold stiffens the door, the sensor gets dirty, and the door “suddenly” starts closing on the object placed underneath it. It didn’t suddenly; you just stopped testing.
- Replacing an opener because it’s noisy. Noise is usually rollers or hinges, not the opener. Replacing an opener that only needs a $4 hinge is expensive in a way that isn’t obvious. If you’re not sure, our garage door opener repair team can diagnose the opener versus the door hardware on a single visit.
- Using a wood door’s swelling as an excuse to force the opener. Bay Ridge wood doors swell in summer. The correct fix is adjusting the opener force setting or replacing a binding roller – not permanently uprating the force until the door works again in August.
When to Call a Professional
Some situations call for a technician on the phone, not on a ladder. Call when a spring is broken or visibly failing, a cable is frayed or slack, the door is off its track, a panel has cracked through, the door won’t close evenly, the opener fails a safety reversal test, or the door is much heavier than it was last month. In each case, the risk isn’t just repair cost – it’s safety. A broken spring is high-tension work, and an off-track door under load can drop. For Bay Ridge homeowners in those situations, we offer free estimates: Garage Door Repair Bay Ridge, call (866) 937-8127. We answer 24/7. Fast dispatch from 7am to 7pm, Sunday through Friday. For a stuck door that has become a security or access problem, emergency garage door response is part of the service. The price is quoted and agreed before any work starts, and the written estimate sets the final price.
Frequently Asked Questions
A visual check and a safety reversal test belong on a monthly routine, and a full lubrication and pass/fail checklist on a seasonal one – late fall and late spring are the natural bookends to Bay Ridge’s cold and humid swings. The door will tell you when it wants more attention: new noise, hesitation, or a door that doesn’t lift smoothly is the signal. A door that has been inspected monthly and lubed twice a year usually stays quiet and runs for years without incident.
Lubricating a torsion spring’s surface is safe from the floor, but adjusting, winding, or replacing one is not – that’s high-tension work with real injury risk. We tell homeowners to treat the springs as visual-only: look at them from the floor, note what you see, and stop there. If you see a broken spring, a gap, or a sagging coil, call a technician. Our spring repair is done by trained technicians for exactly this reason.
Hinges, yes, with care – they’re low-tension parts and the door should be closed and unplugged from the opener. Rollers are more borderline: replacing them means removing the roller from its bracket while the door is held out of tension, which is manageable on a properly balanced door but risky on a door with a weakened spring. If the door fails the balance test first, don’t touch it – call a technician. If it passes and you’re comfortable with basic hand tools, hinge and roller replacement is a fair DIY job.
Typical cost for a single torsion spring repair runs from about $180 to $340. A matched pair is usually replaced together and costs roughly twice that. The exact price depends on the door, the spring size, and any related hardware the job needs. The estimate is free and we quote before any work starts; the written estimate sets the final price. Call (866) 937-8127 for a quote.
Usually the door. Grinding noise on a Craftsman, LiftMaster, Chamberlain, Raynor, or any other brand opener is most often a worn roller, a dry hinge, or a binding track – the opener is just working harder than it should. Before replacing the opener, have the door and hardware checked. If the opener turns out to be the culprit, our technicians service all eight major opener brands, so the correct procedure and replacement part gets used.
For routine maintenance – lubrication, spring or roller replacement, opener repair, weather seal replacement – no building permit is usually involved; those are service items. For structural changes or a full replacement of the door and framing, ask your city’s building department what applies before work starts. The department is the authority on this. When you call us for a replacement, we’ll tell you what’s involved in the job, but the permitting question is one your building department answers.
The Bottom Line
A garage door checklist works when it has real pass/fail criteria. The monthly routine is short: safety reversal, balance, a visual on the springs and cables. The seasonal routine is where the door gets preserved: lubrication on the right parts with the right product, a track and hardware check, and a bottom seal inspection before the cold arrives. Bay Ridge homes deal with winter stiffening and summer swelling in a way that makes the seasonal cadence genuinely important. The DIY line is clear – track, seal, hinges, rollers, lubrication, and opener tests are yours to handle. Springs and cables are not. When something fails a test, or the door feels wrong, a technician is one call away.
Written by the team at Garage Door Repair Bay Ridge.